
Blog Layout
Video Tutorial: How to Animate a Logo - 3D Motion Graphics
Christopher Silva • May 11, 2021
Animate logos in AE by adding shape layers in Cinema 4D mode.
What you will be learning about in the video:
Choose between renderers
Different renderers offer different options for how 3D elements appear in a composition. Compositions can contain both 2D and 3D layers.
To change a layer from 2D to 3D space, in the timeline enable the 3D Layer switch to the right of the layer.
To change from the Classic 3D renderer to the Cinema 4D renderer, click the blue text Change Renderer in the timeline. Then, in the Composition Settings dialog box, change the drop-down menu from Classic 3D to Cinema 4D and press OK.
Differences between 3D options with the Classic 3D and Cinema 4D renderers:
Classic 3D Renderer
- Compositions can contain layer blend modes and track mattes
Cinema 4D Renderer
- Compositions can contain layers with true 3D geometry and depth
- Illustrator Layers can bend in 3D space
- Text layers and Shape layers can be converted to 3D objects
- Position 2D layers in 3D space
How to Position 2D layers in 3D space
To enable 3D on a layer, in the timeline use the Switches/Modes toggle to view the switches, and enable the 3D Layer switch to the right of the layer.
Enabling 3D on a layer opens options to reposition the layer in 3D space, as well as materials options for how that layer appears within the composition.
To position a 3D layer in space, use the axis handles in the Composition panel or scrub parameter values in the timeline.
Click the Renderer button in the upper right corner of the composition panel if you want to change renderers.
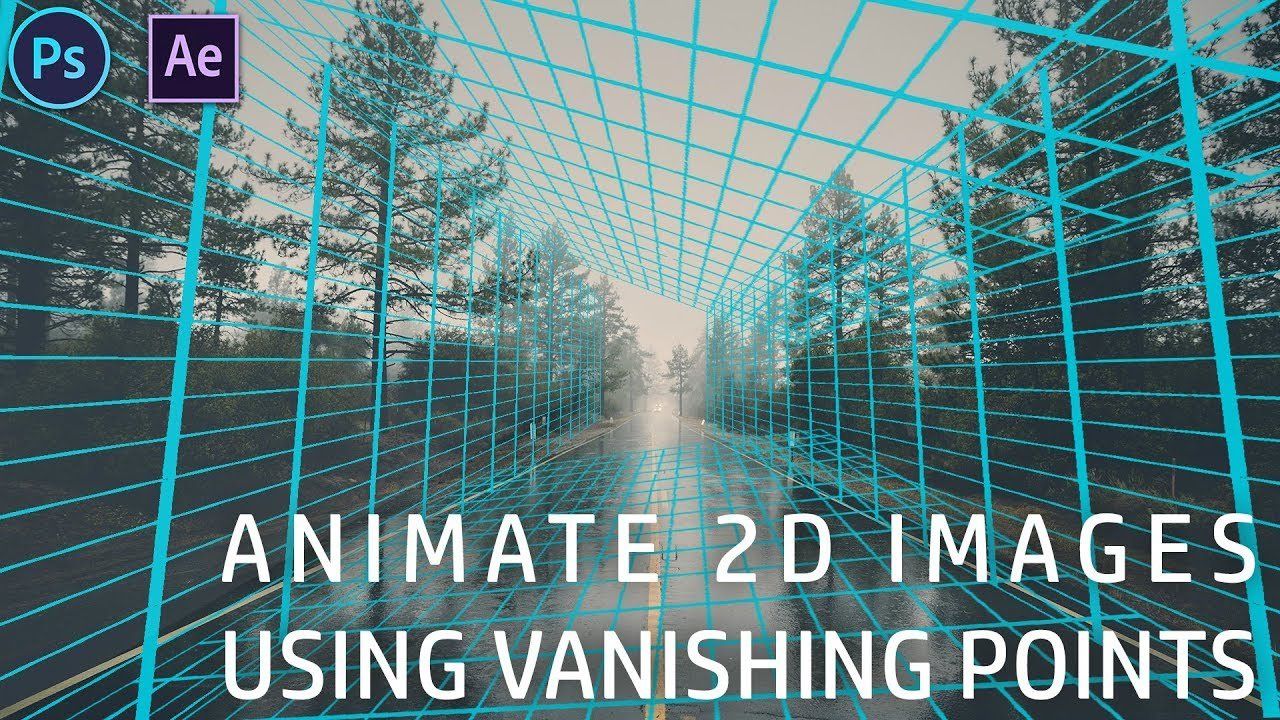
In this video tutorial, Trilight Media's Chris Silva walks you through how to take a 2D photograph and transform it into a cool 3D 'world' that can be animated in 3D. Photoshop and After Effects utilize the vanishing point filter effect to create an astonishing 3D model based on the 2D planes of a normal photo image.
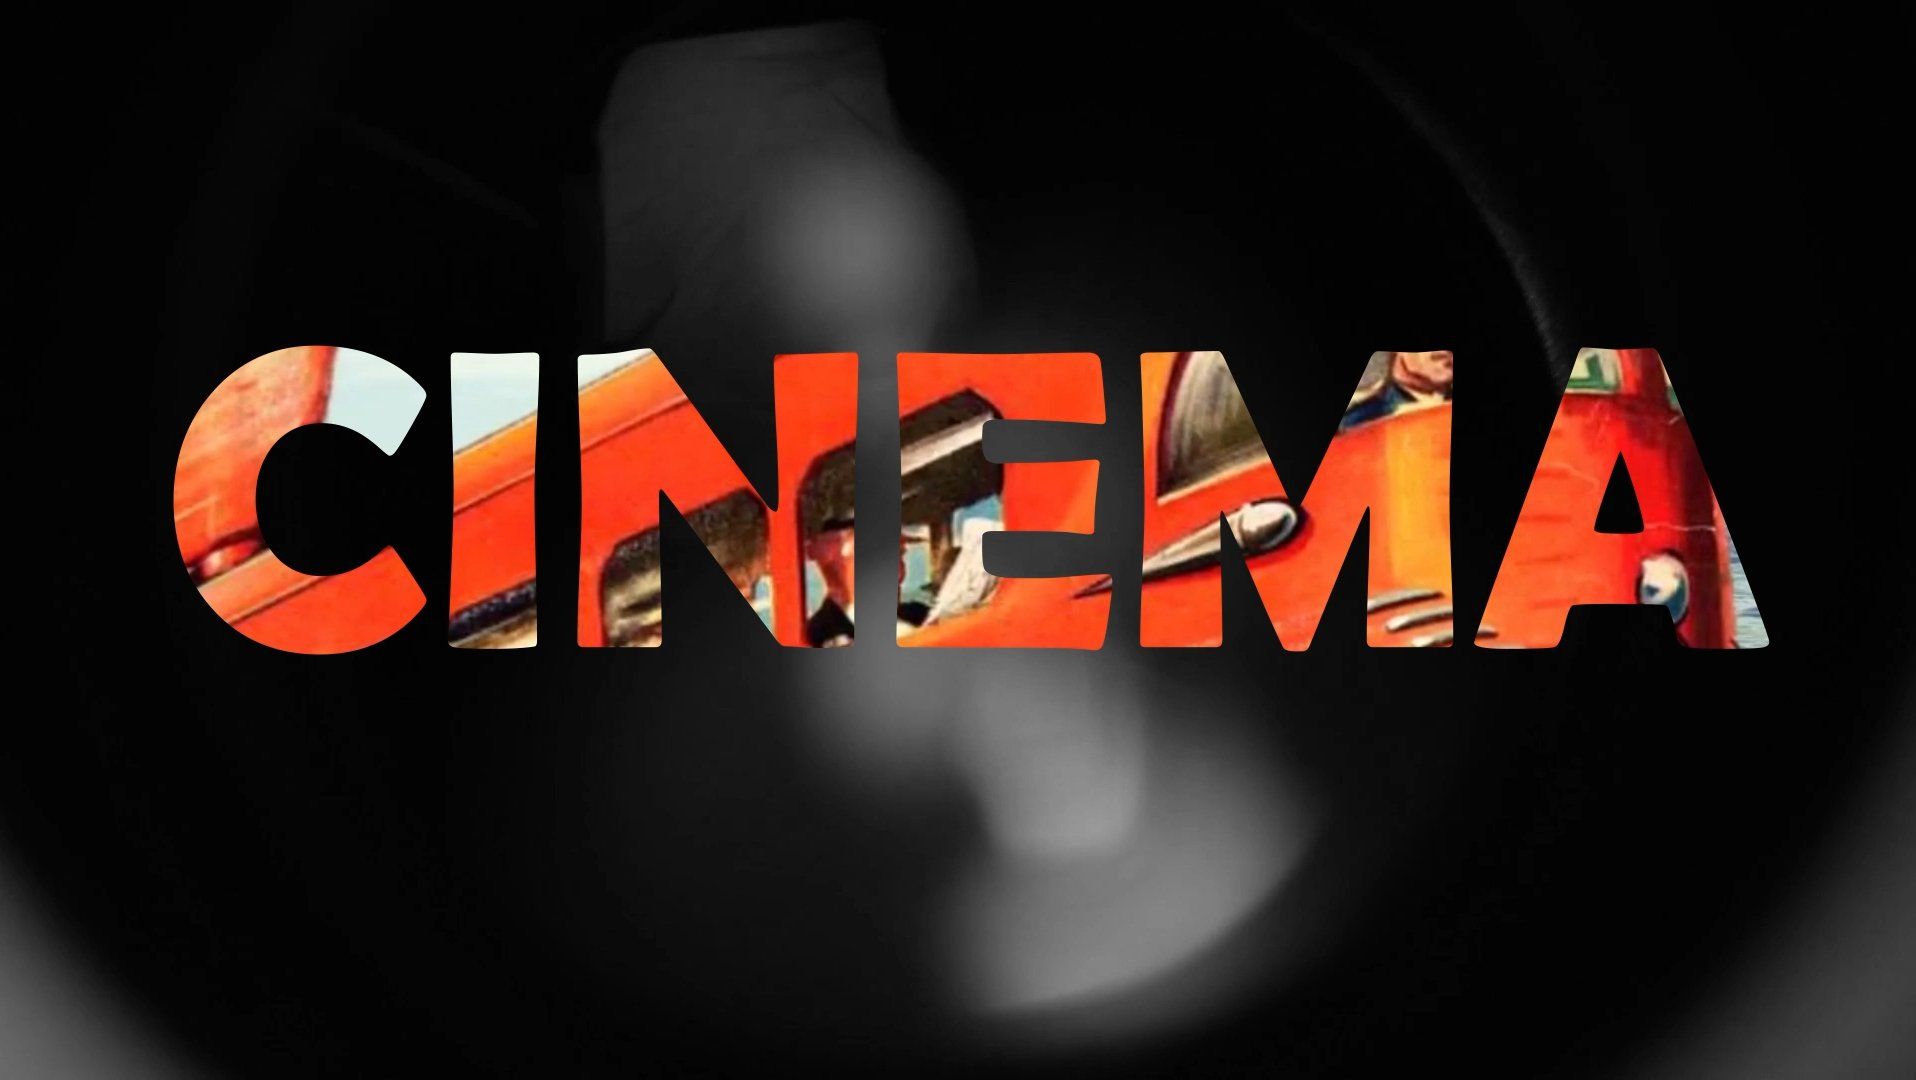
Besides using complex camera movements and unconventional angles, having stellar visual effects and eye-catching graphics can also go a long way in capturing the attention of your audience. One interesting graphics technique commonly used by filmmakers is playing video within a shape or block of text. As complicated as this trick may initially look, it is actually very simple to pull off inside of Adobe After Effects. So, if you’re someone who’s looking to try this technique in one of your next projects, don’t miss the following video tutorial by Trilight Media video editor Christopher Silva, who will walk us through the process of compositing a video into the frame of a text. First off, you’ll create a new composition based on your video preferences. Next, create a text layer of your choosing, just make sure that the element you’ve created is on a separate track (i.e., don’t create a masked shaped on your background layer). As a side note, if you want to align your newly created graphic to the center, head over to the align panel on the right-hand side where you can adjust the desired position accordingly. Once you’re done with your graphical element, import your video clip into After Effects and place it into the composition, positioned below your shape/text layer. On the timeline, navigate to the Track Matte settings and click the drop-down menu on your video layer’s Track Matte Properties. Of the available options there, you’ll want to select the Alpha Matte “[shape layer name here]”. As a result, your footage will automatically take on the form of your shape/text layer. If you want to go further with this effect, you can experiment with other Track Matte options. For example, if you add a simple black-to-white ramp on your shape, you can select the Luma Matte instead of Alpha Matte. That way, not only will your video take on the form of your shape/text, but the luminance of the shape/text layer will affect the video as well. Once you have your footage and text composited, you can pre-compose the two layers to create a new composition, then animate the text layer however you like. Optionally, you can link all your layers by using the Parent & Link feature which can be pretty handy when you want to animate the graphics and make your video more visually appealing by adding motion to your entire composition. Just be patient, take your time, get creative and see what else you can bring to the table by utilizing this simple, yet extremely effective compositing technique.
Charleston, SC | Since 2009
Christopher Silva | Principal